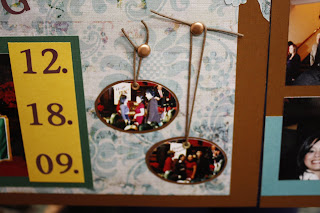
 This was my workshop layout for this weekend. I confess, I am REALLY partial to this page and enjoyed putting it together. This is Mari's take on the concept. Let me run it down for you. We used 2 sheets of the floral design paper from the Unforgettable set and 2 sheets of the blue print design paper from the same set. On the left page, the floral was the base. We cut 3 1/2 inches of the blue print and another 1/2 inch of it. We layered the two about 1/2 inch from the left side with the pink side showing on the 1/2 inch strip.

We used a couple of silhouetted overlays on the right hand page, too. First, starting at the cut we made before, we cut a silhouette around the flower that we cut through part of, then cut down the stem to the bottom of the page. This cut went
 into the bottom right corner. After that, we cut alont the large branch on the left hand side of the page and let that section create the left border for the page. Mari added a flip collection using either the CTMH Flip Flaps or clear envelopes and she attached a dated cover to the top of the stack. She added brads and stickease to complete the page including a few extra flowers.


 sprigs grew out of my legs too, but without the chocolate. Ashley had some sort of fancy treatment, but I don't think it was a food group. Still looked odd though.


 Don't the off-set pictures on a page draw your eye to them? And it is all about setting up the pictures! In this case, Linda Swisher silhouetted the pictures of her girls. That means she cut closely around them. I know . . . you probably already knew that, but just in case! She then matted the pics onto Ocean cardstock (or at least it looks like ocean) which seems to be matted on a slightly larger rectangle of blush, and finally matted again on more Ocean - this last piece trimmed with deckle trimmer, maybe? I like the effect! The letters were done on her Cricut with some stickease accents and the stripe on the right hand page wass also done with cardstock and stickease. GREAT PAGES! By the way, the Unforgettable sets are all retiring and are on sale at my website,


