I know I usually explain how I made or embellished the layouts from the workshops that I've completed, but this time I'm doing something a little different. See, I can't really explain this particular layout in much detail anyway because it is the layout from the full color instructional brochure that came with the workshop kit.
So I'm gonna give a little editorial on the sentiment that is shown here. First, I gotta tell you, I loved the instruction's technique of masking the sentiment card with the actual stamp. It turned out so cool! But, I totally disagree with the sentiment. I could go through some clever stuff about the mind of Picasso, but I don't really want to hammer the poor, sad man. Instead, I'd rather redirect to the truth. Everything you can imagine ISN'T REAL; that's why it's called an imagination! BUT, there is something real about our imagination and this sentiment reminds me of it. Ephesians 3:20 indicates that God "is able to do exceeding abundantly beyond all that we ask or imagine . . ." How amazing is that. Everything that I imagine isn't real! Thank GOD (and I SURE don't say that lightly! Is there ANYONE who would want EVERYTHING they could imagine to be real? Talk about a Midas curse! No mom would, that's for sure!!!) But my heavenly Daddy (Jesus said in Mark 14:36 that we should call him, "Abba" which means "Daddy.") is able to do more than I can imagine. "Exceeding Abundantly" so much more that I can't even comprehend it. That is just way cool. The sentiment on this page is already gone!
A couple of details on the embellishments, though. First, I used a second generation stamp on all of the floral images, in Vineyard Berry. Then I did a "rock-n-roll" technique in full Vineyard Berry along the edges. I added a small, black brad into the center of all the floral images after I cut them out.
On the photo frame, I put one of the floral images. Then I threaded 2 ends of the ribbon into the center hole of the photo frame and tied the ends into a knot to hold it in place. I have to say that I think it  would've been a lot easier to glue the photo frame to the ribbon and then glue the knot to the top of the photo frame. It gives the same effect, but isn't nearly as difficult.
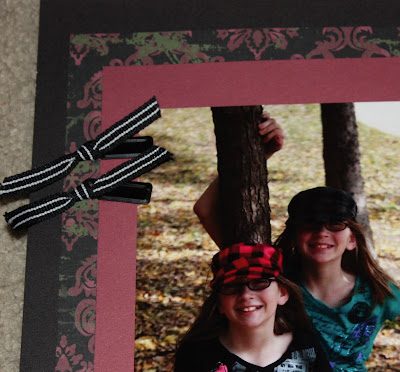
Two of the photo clips (also a part of the black Mini-Medley that came with this workshop set) were used on one of the pictures. Three inches of ribbon were knotted on each of the photo clip before they were attached to the layout. Liquid Glass or Glue-dots are the best ways to attach metal accents.
 would've been a lot easier to glue the photo frame to the ribbon and then glue the knot to the top of the photo frame. It gives the same effect, but isn't nearly as difficult.
Two of the photo clips (also a part of the black Mini-Medley that came with this workshop set) were used on one of the pictures. Three inches of ribbon were knotted on each of the photo clip before they were attached to the layout. Liquid Glass or Glue-dots are the best ways to attach metal accents.

The long, swirly stamp was use to adorn the Sweet Leaf 1 1/2 inch strip, but there is a trick to attaching a previously stamped image to the next image. I used the stamp right-side up for the first image and then up-side down for the next image, repeating the pattern. I also made a point to create a
 double loop (like two paisleys in a circle) each time I stamped the next image. As a final trick, I started stamping the first image in the dead center of the strip and added images to either side of the center until I had filled the strip.
This workshop was a BLAST to put together! I hope you will share yours with me if you try it!


That's really pretty! The floral flare as the background makes a great impact. The color also enhances the pictures.
ReplyDelete