
This layout utilized the decorative backsides of our Background and Texture papers. The design is from page 98 in Magic and is called, "Abracadabra."
For the bases on this double, I used the light colored, dotted B&T paper that came with the Wings workshop kit. (BTW, the Wings workshop kit is available still!)
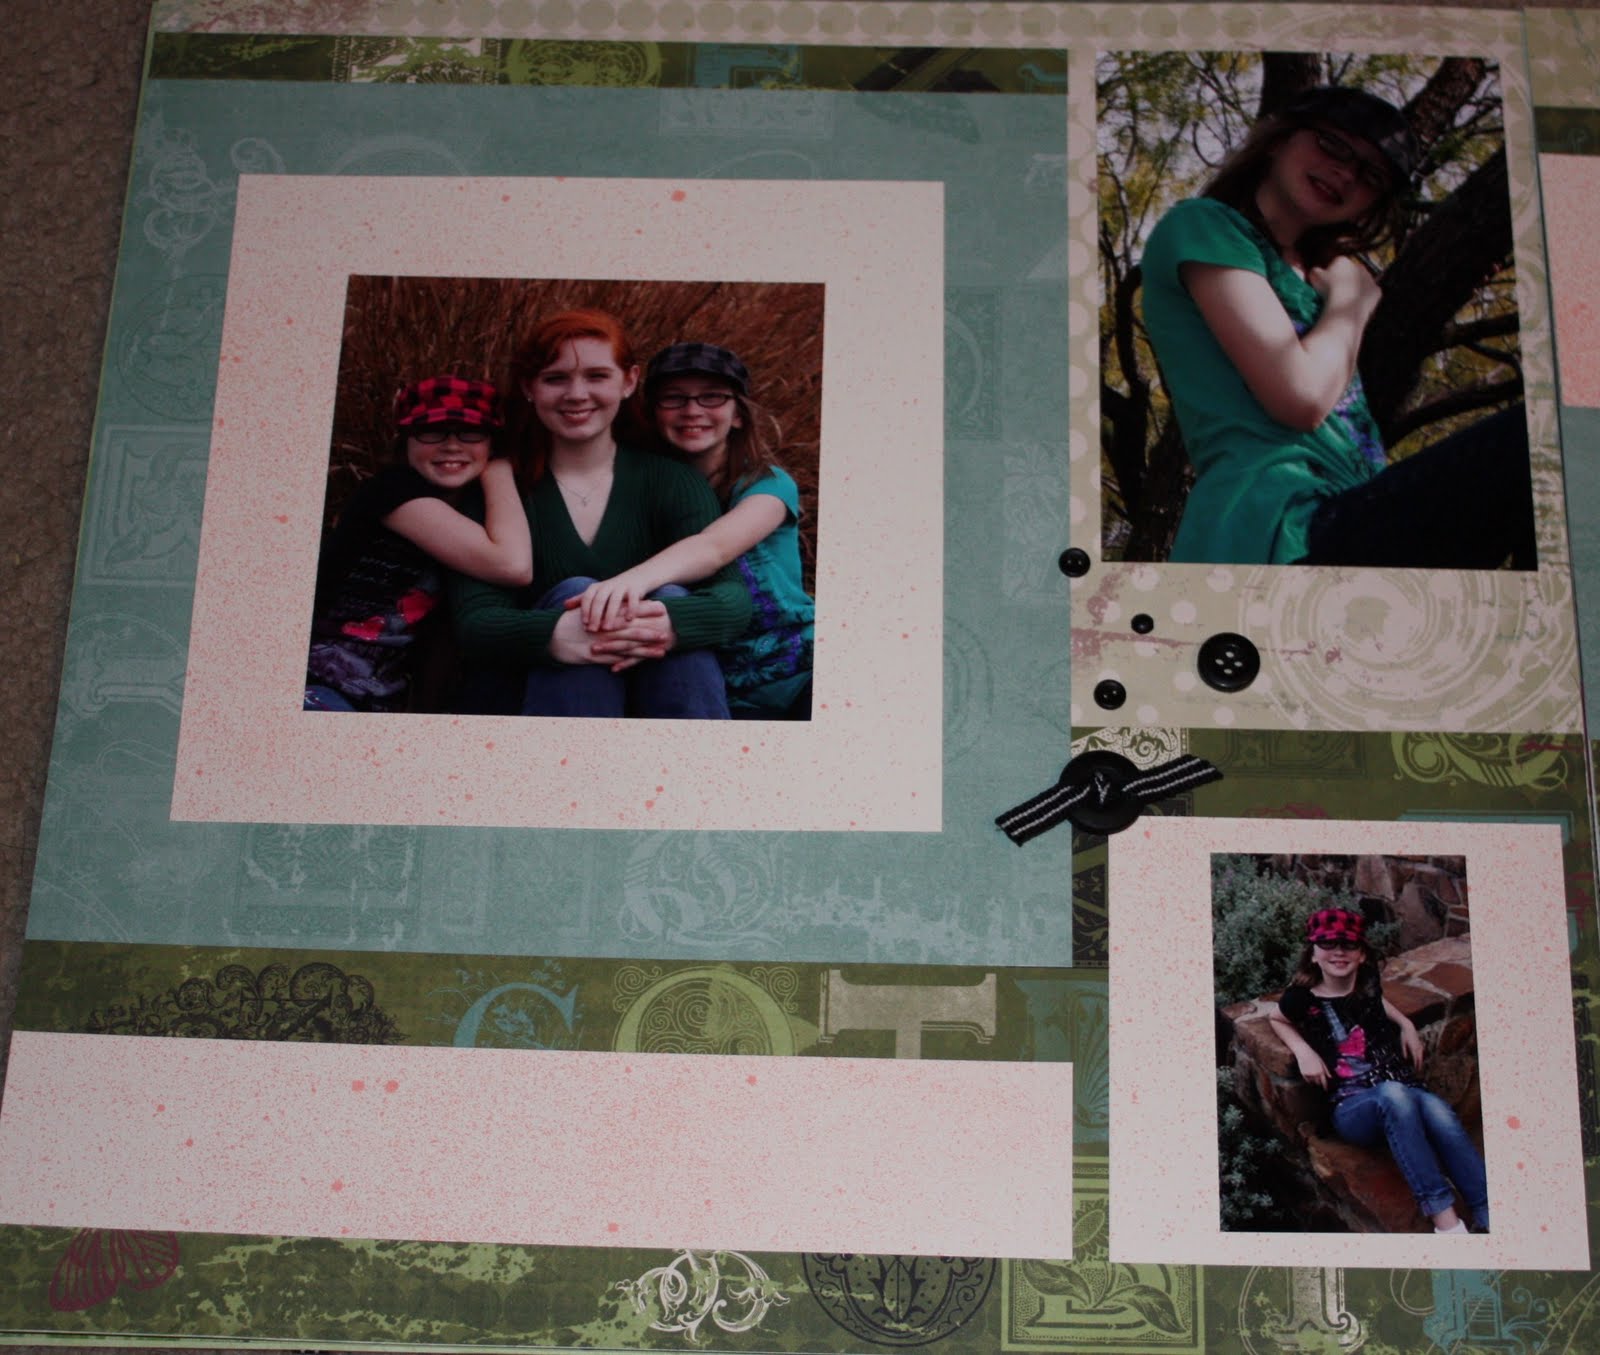
I liked the way this page came together, especially the way the Juniper (bluish) color was highlighted. It totally changes the look of the set. On the original layout, the top-right open spot was saved for journaling and decorations, but I preferred to use it for a photo. (I'm all about using the space on pages for photos. With 4 kids, I really need to utilize the space as efficiently as possible!) Under the main picture, I intended to add another picture, but didn't need to, so it will be my spot for the title, "There Were Never Such Devoted Sisters!"
Just like on the last few layouts (especially layout #1) I used the new
 spray pen with Vineyard Berry ink to create a texture on the Colonial White cardstock. The trouble with this layout is that I left two really important (and rather large) elements out of my patterns. So when I got to the end of all of my cutting, and had used the last of my papers for the most part, I realized that the large 8 x 8 square hadn't been cut and neither had the 3 1/2 x 8 piece on the right-hand page. The only paper I had left was the letter-filled B&T, but it was already being used on this page, so I got creative and used the back of the letter-filled B&T for the last two pieces. I'm SO GLAD Close to My Heart started putting designs on the backsides of our texture paper!
I also enjoyed the embellishments for this page. I randomly stamped one of the floral images several times on the 1 1/2 x 12 Colonial White strip. I also stamped the mini heart just a few times between the images and finished the strip out with 2 small brads that were part of the "Mini-Medley" that came with the kit.

On the left-side of the page, in the journaling place where I put a picture, I also added several accents. I knotted some ribbon and glued it to the top of the button, then glued the button to the top-left of the small square in the bottom-right of the left-hand page. I scattered 2 small button brads, a small 4-hole button, and a small brad between the button and the picture.
I was so pleased with the way this turned out. Let me know if you try it!
I was so pleased with the way this turned out. Let me know if you try it!


No comments:
Post a Comment